Chrome
Before integrating proxies into Chrome, make sure you have set up the proxy correctly to guarantee that the proxy service will work properly.
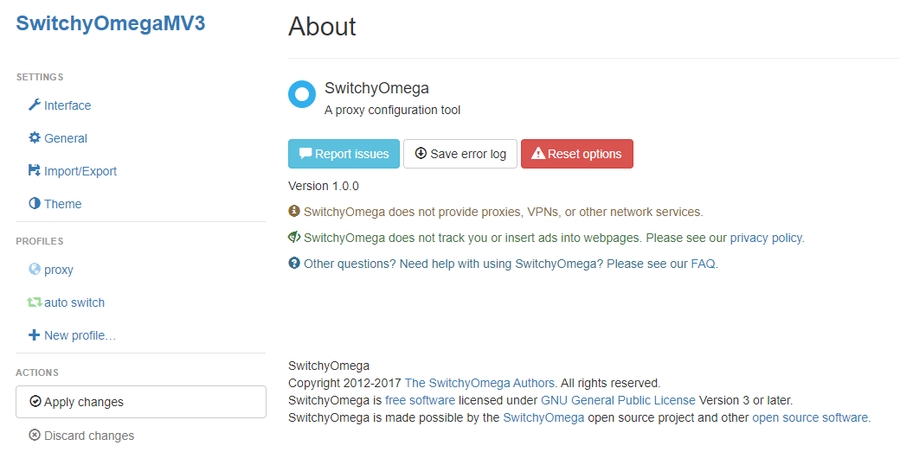
1. Install a proxy extension on your browser, such as SwitchyOmega, or choose your usual extension, search for it in the Google Play Store and add it.
2. Download the Chrome extension, unzip it and locate the extension folder.
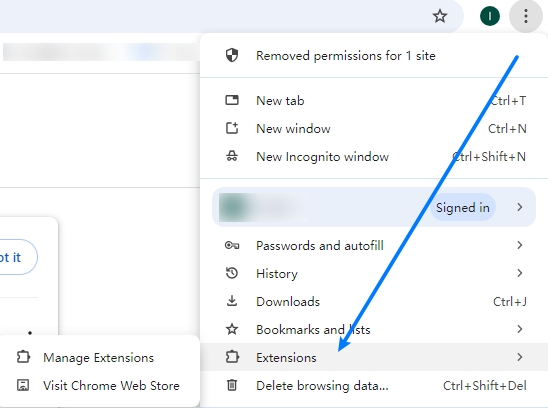
3. Click the three dots to the right of the Chrome address bar, select Extensions, and then click "Manage Extensions" in the extended menu bar.

4. In the page that opens, activate the "Developer Mode" button and drag the unzipped extension folder directly to the page.
5. After the installation is complete, click the extension icon on the right side of the Chrome address bar to open the installed proxy extension.

6. In the proxy extension, add proxy settings such as proxy protocol, proxy server, proxy port, username, password, etc. and save your changes.
7. Detect your IP through the browser, the current IP address and proxy IP is the same, it means that the proxy setup is successful.
Through the above steps, you have successfully completed the integration of Chrome and proxy, providing a more secure and flexible option for network connection.
Was this helpful?