SwitchyOmega
Before integrating a proxy into SwitchyOmega, make sure you have set up the proxy correctly to guarantee that the proxy service will work properly.
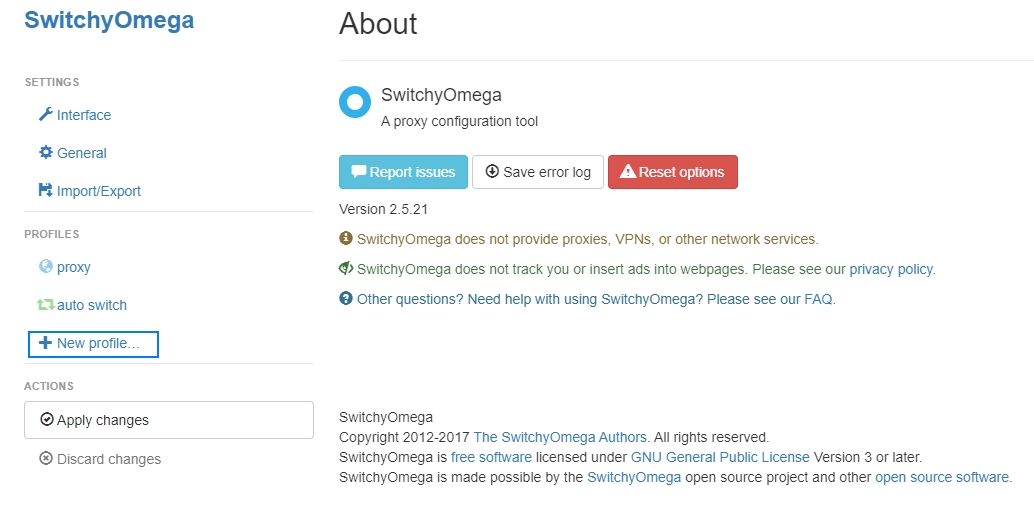
1. Open the SwitchyOmega Options via the browser extension.
2. Click "New profile".

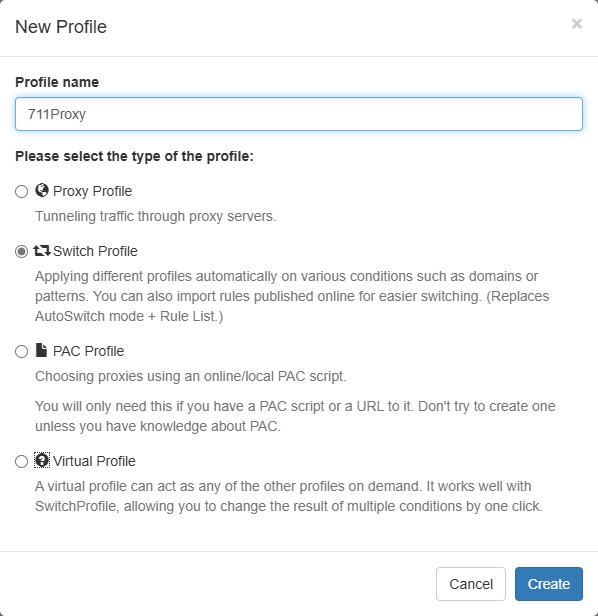
3. In the pop-up window, enter the profile name, select the profile type and click Create.

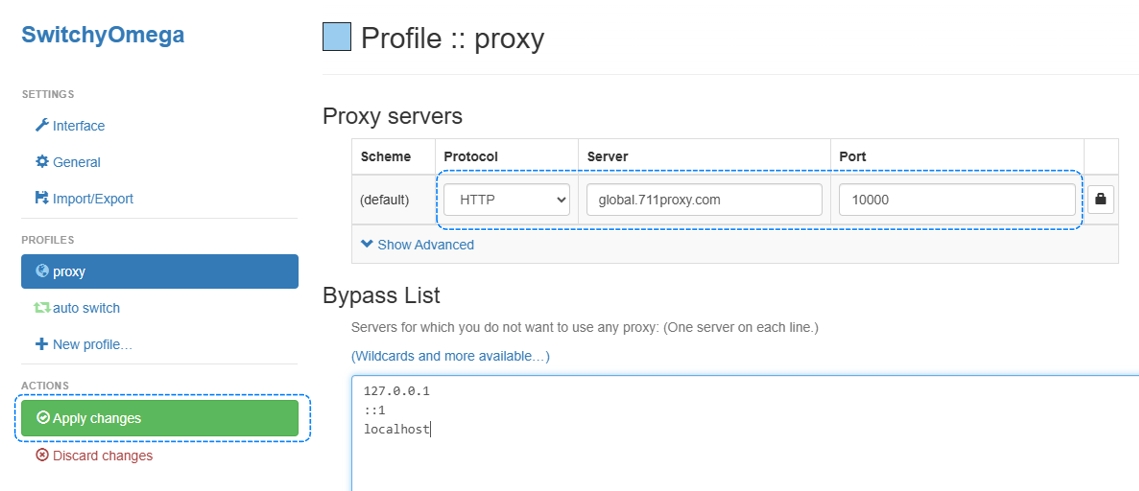
4. In the created profile, select the type of proxy protocol that corresponds to the proxy settings and enter the proxy host and port provided by the 711Proxy.

5. Click the green 'Apply changes' button on the left side to complete the configuration.
6. Connect to the proxy:
If you get the proxy via API (IP whitelist), simply select the proxy you configured in the SwitchyOmega extension in the browser's address bar and connect.
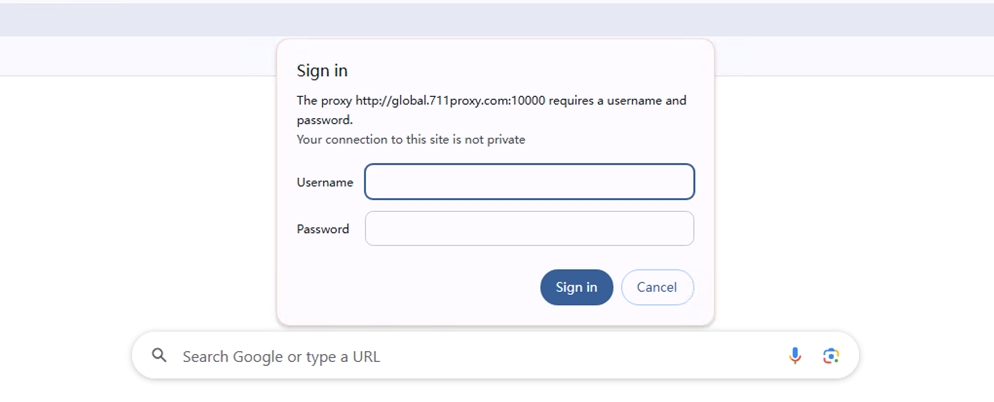
If you get the proxy via username/password, make sure that the IP address you wish to access the proxy service from has been removed from the whitelist. Then, in the SwitchyOmega extension in the browser's address bar, select the proxy you configured, enter your proxy username and password in the popup window, and click Sign in.

7. Check your IP through the browser, the current IP address and the proxy IP are the same, then it means the proxy setup is successful.
Through the above steps, you have successfully completed the integration of SwitchyOmega and proxy, providing a more secure and flexible option for network connection.
Was this helpful?